When you take the time to learn how to sew curtains, you find that the process is pretty straightforward and simple. That makes it easy to expand your skills enough to be able to create a wide array of styles- from contemporary to elegant. With only basic sewing skills, you can easily follow this guide, learn how to sew curtains, and be able to duplicate the process over and over again to create designer-styled curtains.
Measure Fabric To Length And Style
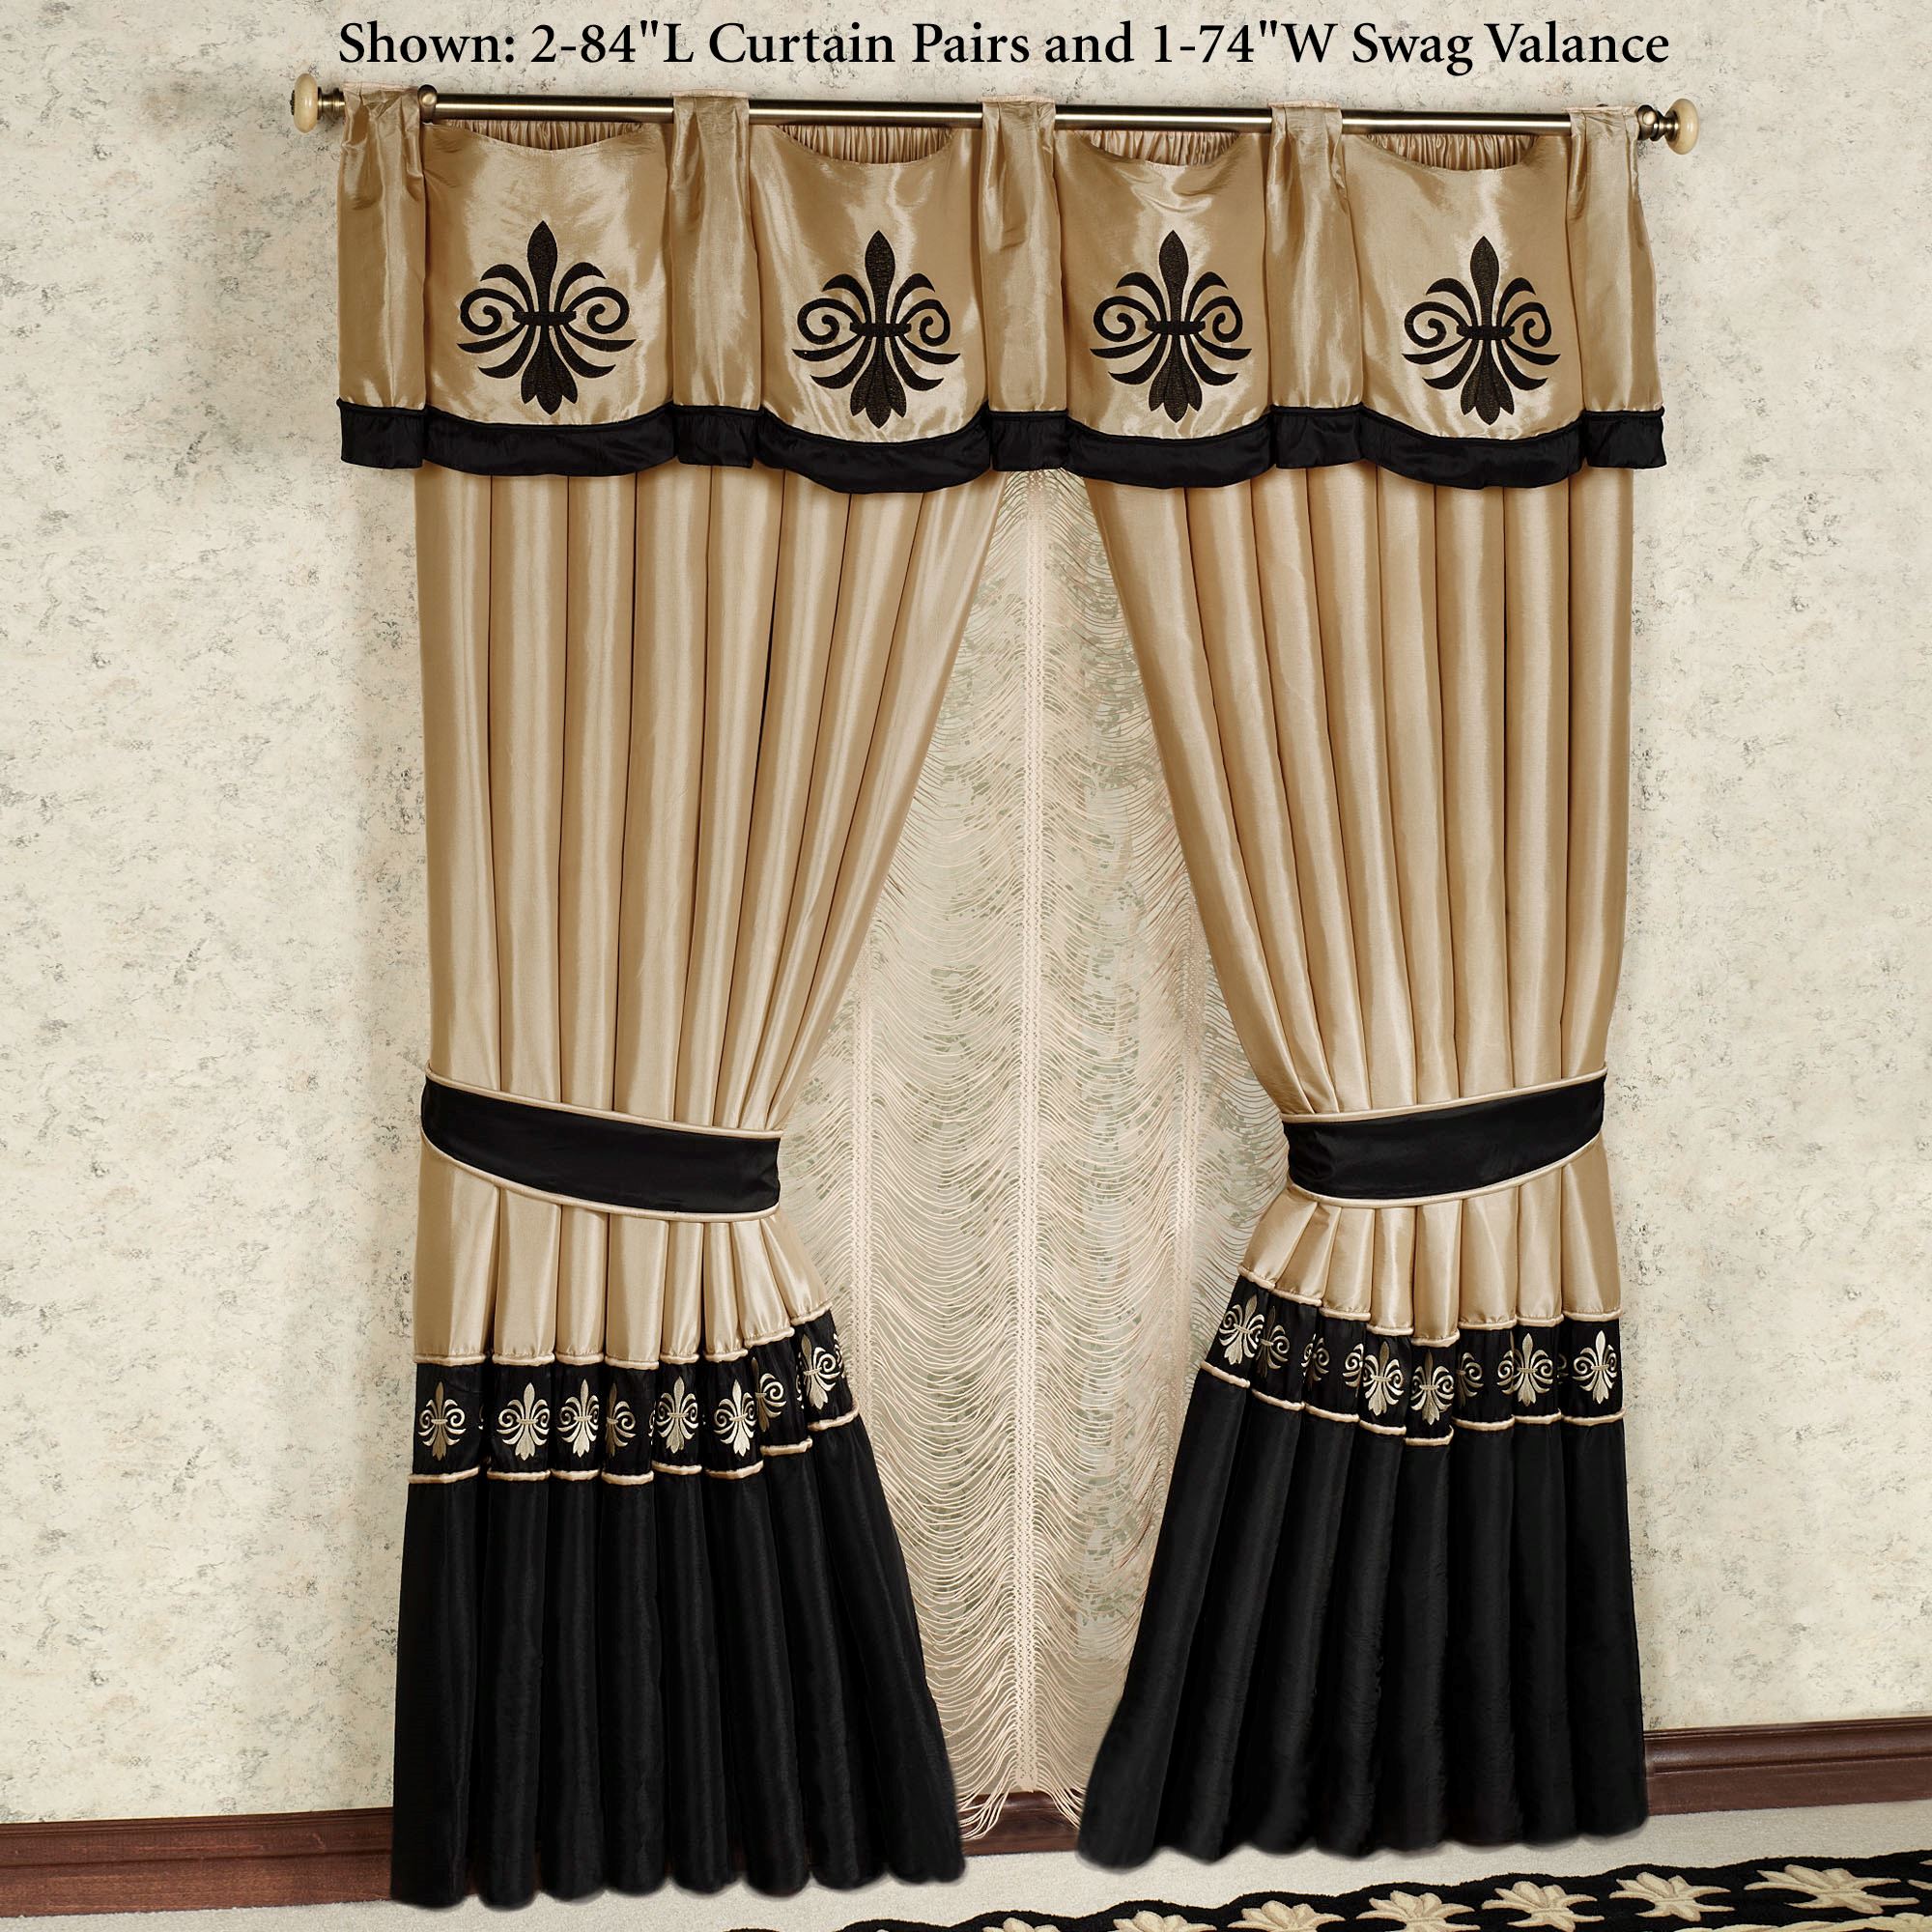
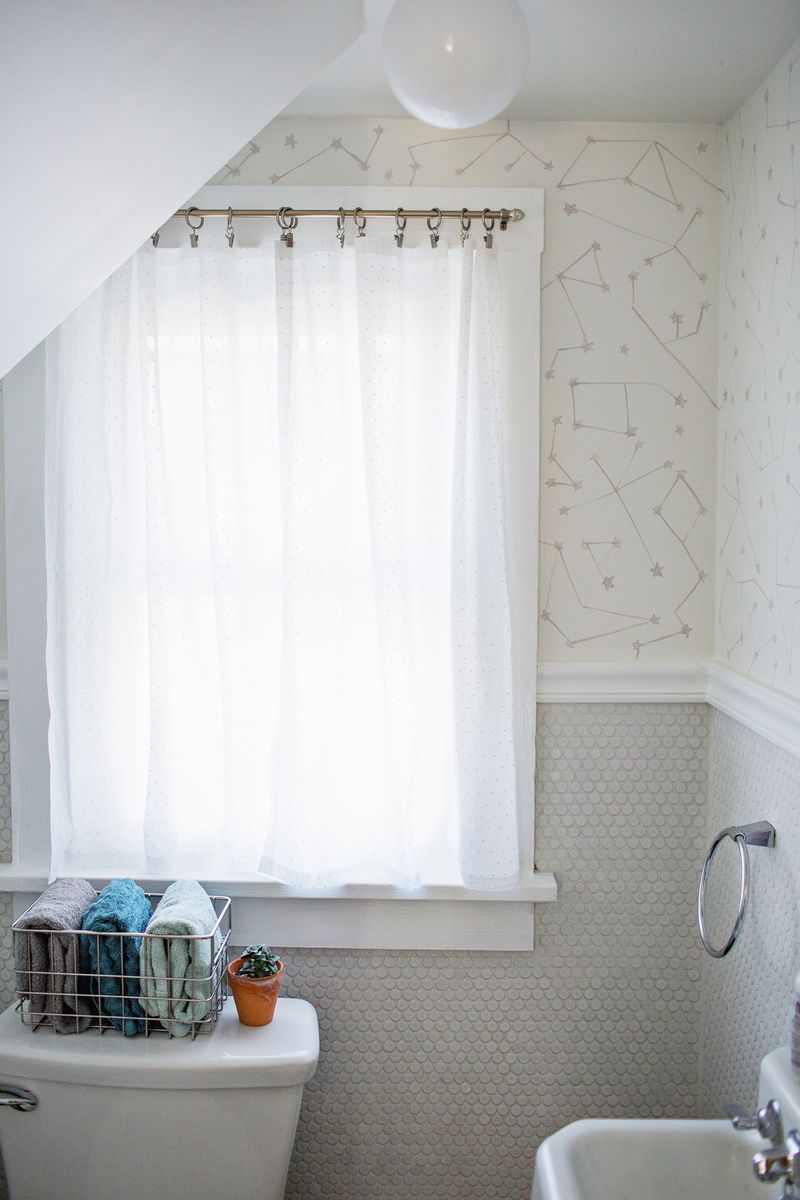
The first step to sewing curtains is measuring the fabric, which is based on the length of the windows and your personal taste. Most interior decorators suggests that you use long curtains that touch the floor to make the windows look bigger and make the room feel more spacious. In contrast, most kitchen windows are short like valences, or mid length and tied back against the wall. Once you have determined the length that is most suitable for your project. You must include an additional 5 inches to your length measurement before you cut the fabric. This extra length is needed to accommodate the loss of length when you create the hems and the loop that the curtain rod is inserted into. If you forget to add this to your measurements before you make your final cut, your curtains will be too short.
Use Pins to Create The Hanging Loop
Now that you have the fabric cut and ready to be sewn, you first have to pin the fabric in place at the top of the curtains. In order to create the gap in the curtains where the curtain rod is inserted for hanging, referred to as the hanging loop, you simply want to fold over a flap of the fabric along the top of the curtains that is about 2 ½ inches long and iron that flat. Then fold abut 1/4th of an inch of the cut edge of the fabric underneath the flap to conceal the raw edge, and iron that down as well. Once you have determined that you have an even fold from end to end, pin the folded edge securely in place. Ensure that the pins penetrate through all 3 layers of the fabric. This will also be where the seam will be placed later.
Pin Hems On The Bottom and Sides
In order to enclose the raw edges of the fabric, and preventing them from unraveling, the bottom and sides must be hemmed. The most important part of that process is pinning the hems down. If this is not done carefully, you will end up with uneven curtains that are varying widths. Also, when hanging from the curtain rods, the fabric will not fall straight down, giving a sloppy appearance when pairing with contrasting colors.
In order to pin the seams correctly, it is best to use a fabric pencil to mark the places for the side crease, ensuring to maintain the same width of the curtain is the same measurement from top to bottom. Using an iron to make the crease sharp and indented will ensure that you do not loose the accuracy f your measurements while pinning the fabric together.
Once you finish ironing, pin the fabric in place. You can either pin the fabric exactly as it is, allowing the cut edge of the fabric to remain exposed on the backside of the finished curtains. If you prefer, you could roll the fabric twice before you pin it down, which would completely conceal the cut edge.
Sew Hems and Hanging Loop
Now that everything is pinned securely, the only thing left to do is sew everything in place. When sewing the bottom and hems, it is not crucially important that the stitches are exact and precise, as hems are more forgiving and go by mostly unnoticed when it comes to curtains. It is however important that the crease is not altered- not even a little bit. One small shift in the alignment of the fabric will throw the entire hem off, and the mistake is very visible. Focus on making sure the stitches assemble the fabric exactly as pinned and you will have perfect-looking hems all all 3 sides.
The same applies for the hanging loop. As long as you remain steady with the sewing machine to keep the stitch as straight as possible, then the curtains will look just as good as store bought curtains. Once the hems and loop is sewn, the curtains are complete. If you choose to create several panels, duplicate the process for each of them. If you wish to create a valance, the process is exactly the same as well, only the curtains are extremely short in length and very wide in width. Aside from the size difference, you can make virtually any type of curtain using this method.