Things like curtains are way overpriced when bought commercially. After all it’s just a piece of cloth which doesn’t even need that much craft to make. But then, we don’t decide the rules of pricing. What we can decide, though, is how to cut that cost by sewing our own curtains. Here’s how you can sew curtains at home.

Tools Needed To Start
Contents
First off, do you have all that it takes to complete the sewing process? You need to get all the materials before you know how to sew curtains.
Here are the ingredients that you need.
- Fabric and a good lot of it, according to the curtain size you are making
- Sewing thread to match your fabric
- Scissors to cut the curtain
- Measuring tape to measure the length
- Straight pins
- Sewing machine to sew it!
- Iron and ironing board to ensure you’ve a steady surface.
Step 1: Choosing a fabric
If you are a newbie at sewing you should begin with a cotton or a cotton-linen blend fabric because that’s easy to work with. Else, just consider the basic function you need your curtain to serve viz blocking light, think upon criteria like if you want the machine washable kind if your residential area is prone to a lot of dirt; and pick your fabric accordingly.
Step 2: Determining how much fabric you need
Determine the height of the curtains by measuring the distance from the curtain rod to the bottom and add 18 inches to it. You will need the extra 18 to hem the panel and also adjust for shrinkage. If you want to sew a regular curtain then a curtain of one width will do, but if you want a gathered look, your fabric has to be 2-3 times the width of your window.
Step 3: Prepare your fabric
It is always a good idea to wash and dry the fabric before you begin to sew. If you do it after, the curtain becomes wrinkled due to shrinking. The final step in preparing the fabric is to iron it to get an even surface to measure and sew.
Step 4: Cutting the fabric
Measure the fabric accurately and cut the desired length with an extra 8 inches.
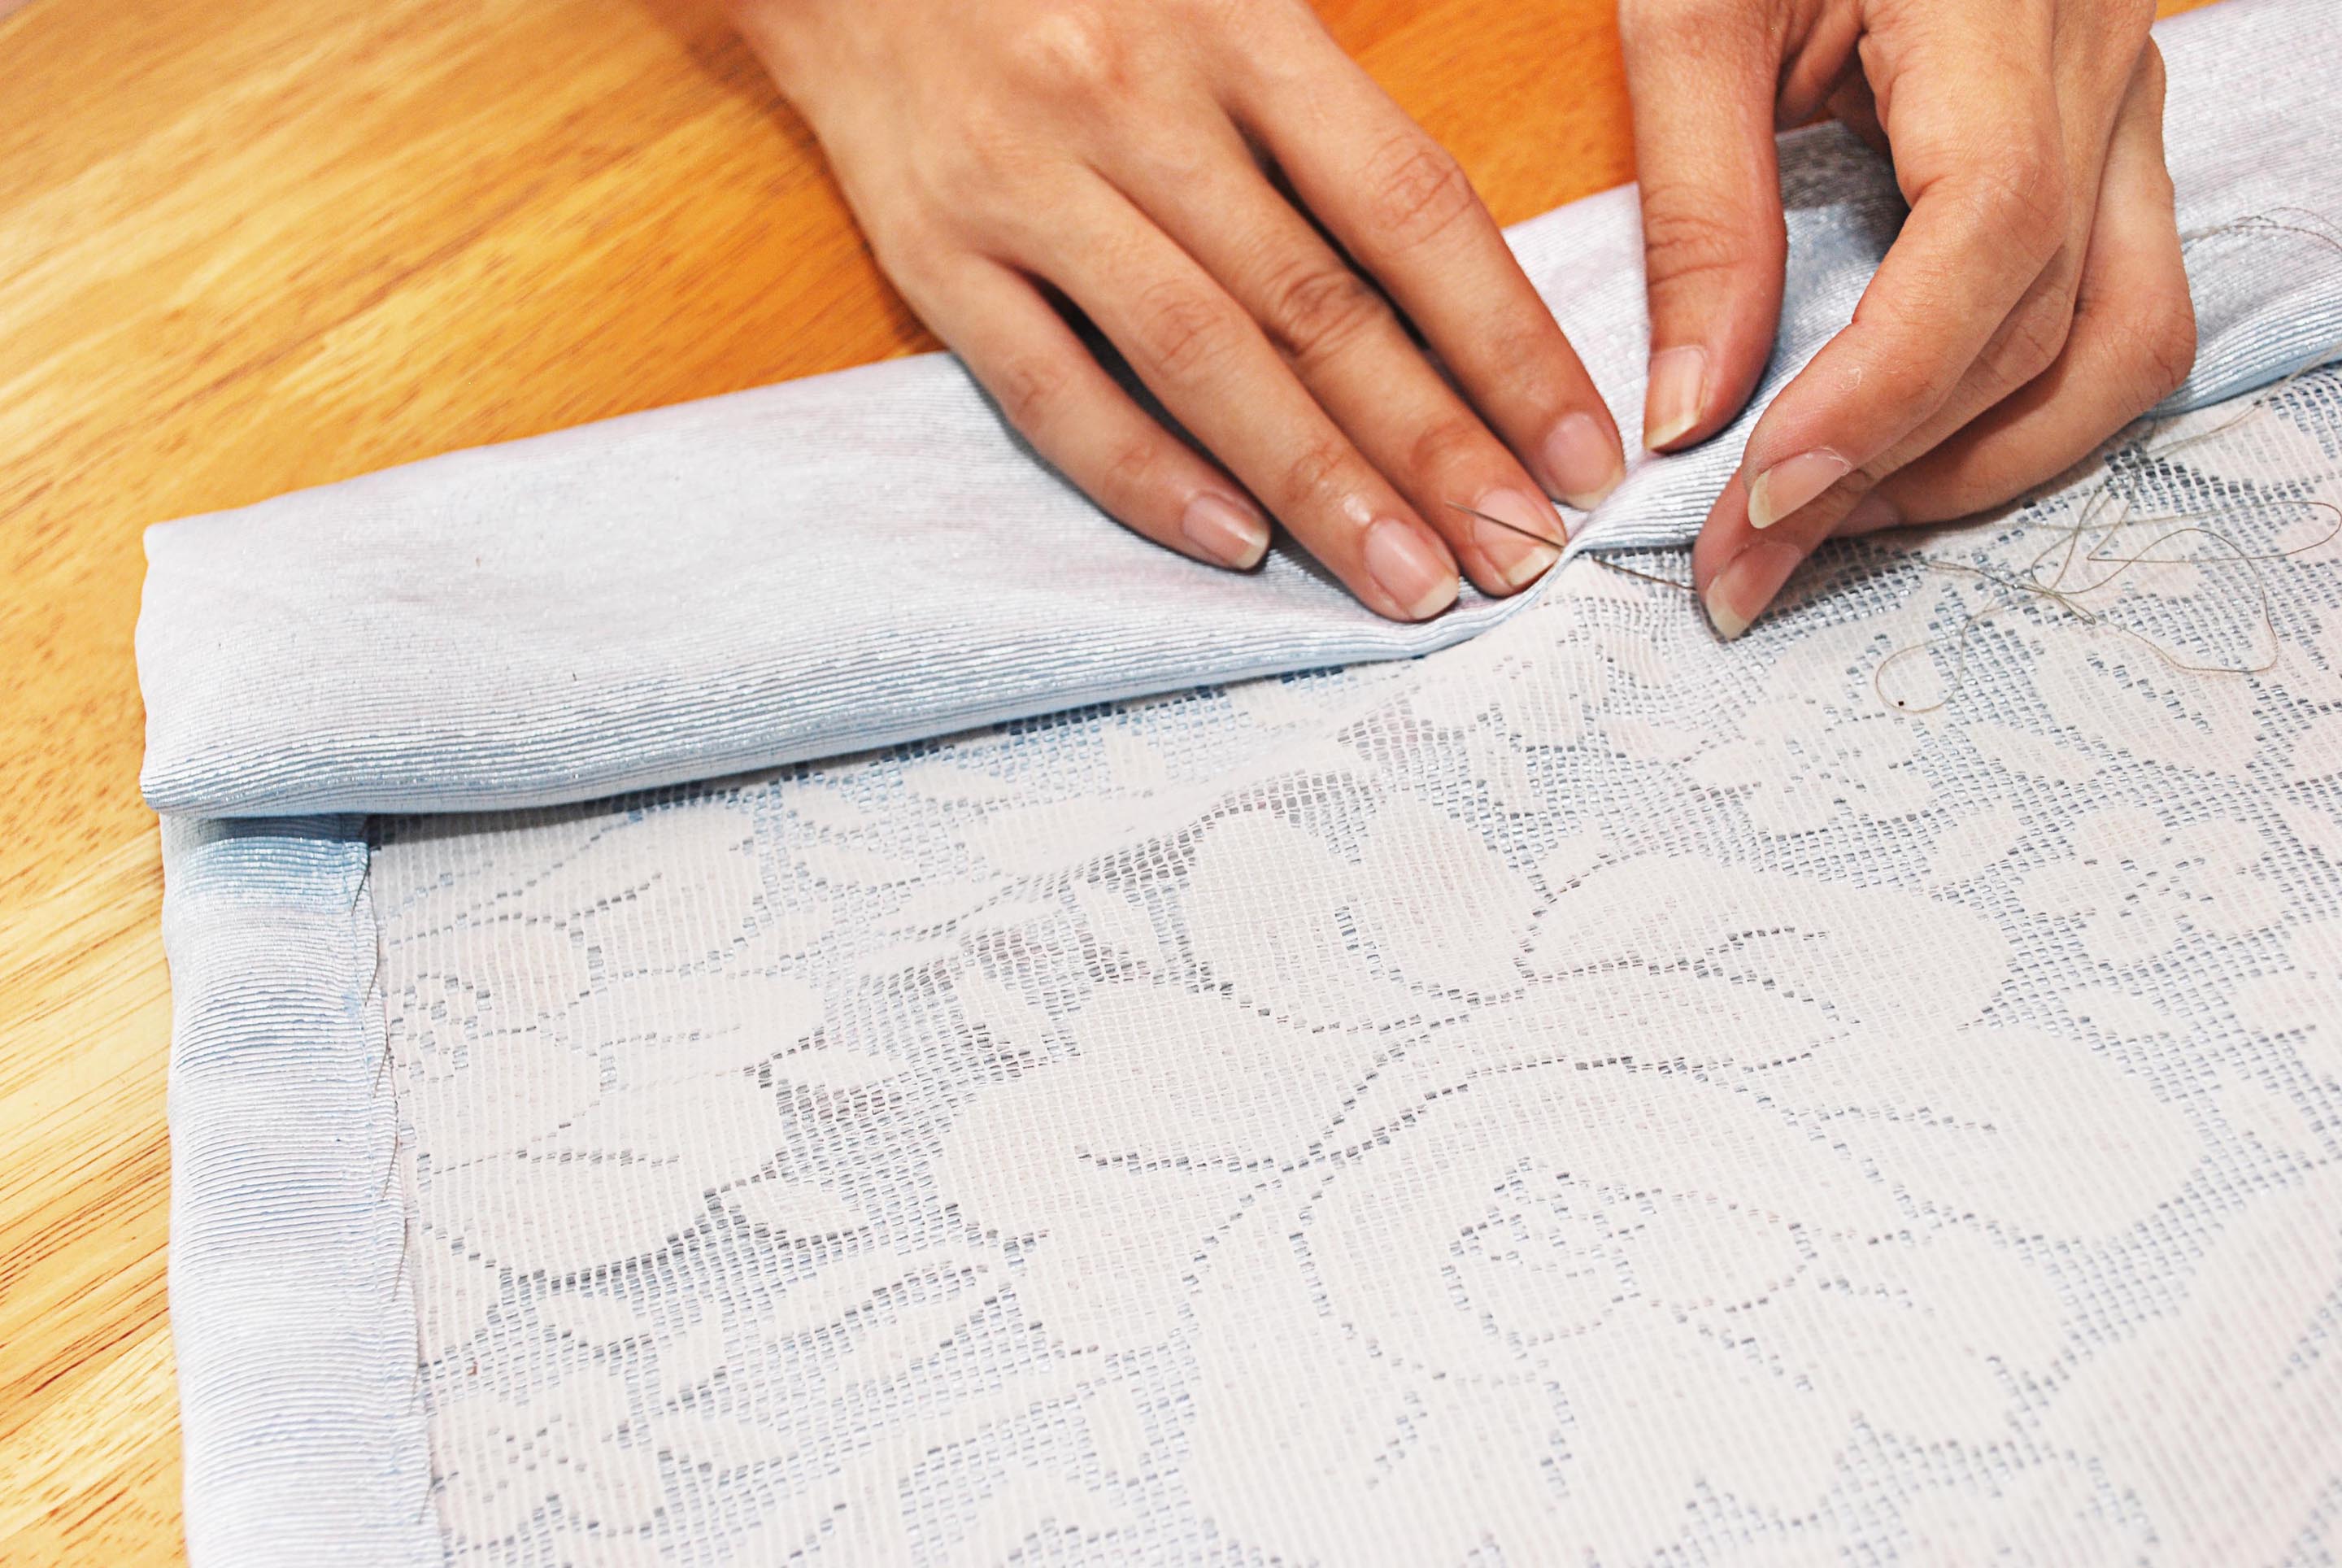
Step 5: Hemming
The finished edges running along the sides of your fabric are called selvage. It is mostly a different color and texture.
Knowing how to trim is an essential part of knowing how to sew curtains. Here is how you can start.
Trim it away before you begin to sew. Now, turning the fabric ½ inch to the wrong side, iron it. Turn it another ½- 1 inch and iron again to form the hem lines. Pin the folded edge, to keep it in place, with pins running perpendicular to the seam, so that it is easy to remove the pins as you sew.
For the bottom turn a little less than ½ inch to the wrong side and iron. Turn another 5 inches and secure with pins. Turn the top edge of the curtain ½ inch to the wrong side and iron it. Turn another two and iron it again.
Step 6: Sewing the seam
Run a simple straight stitch along the hem about 1/8 inch from the interior folded edge. Repeat for the opposite side. Stich along the hemline of the bottom, approximately a 1/8th inch from the interior folded edge. Make it extra secure by backstitching at both the ends of the seam. This is done by sewing the first 2-3 stitches of the seam, and then using the reverse button, sewing 2-3 stitches in reverse.
Now, sew the rest of the seam. This is just to make sure that the stitches won’t unravel. This is not required for the side hems as they van be finished inside the top and bottom hems anyway.
Step 7: Sewing the Curtain rod pocket
Stitch the seam approximately 1/8th inch from the edge just like you did for the bottom and back-stitch to secure both the ends of the seam.
That’s about all the sewing you need for a basic curtain. Pop in the curtain rod and your curtains are ready to be hung. While you might fumble the first few times, you will soon learn how to sew curtains. It’s really not that difficult and it doesn’t take long to create that beautiful curtain.