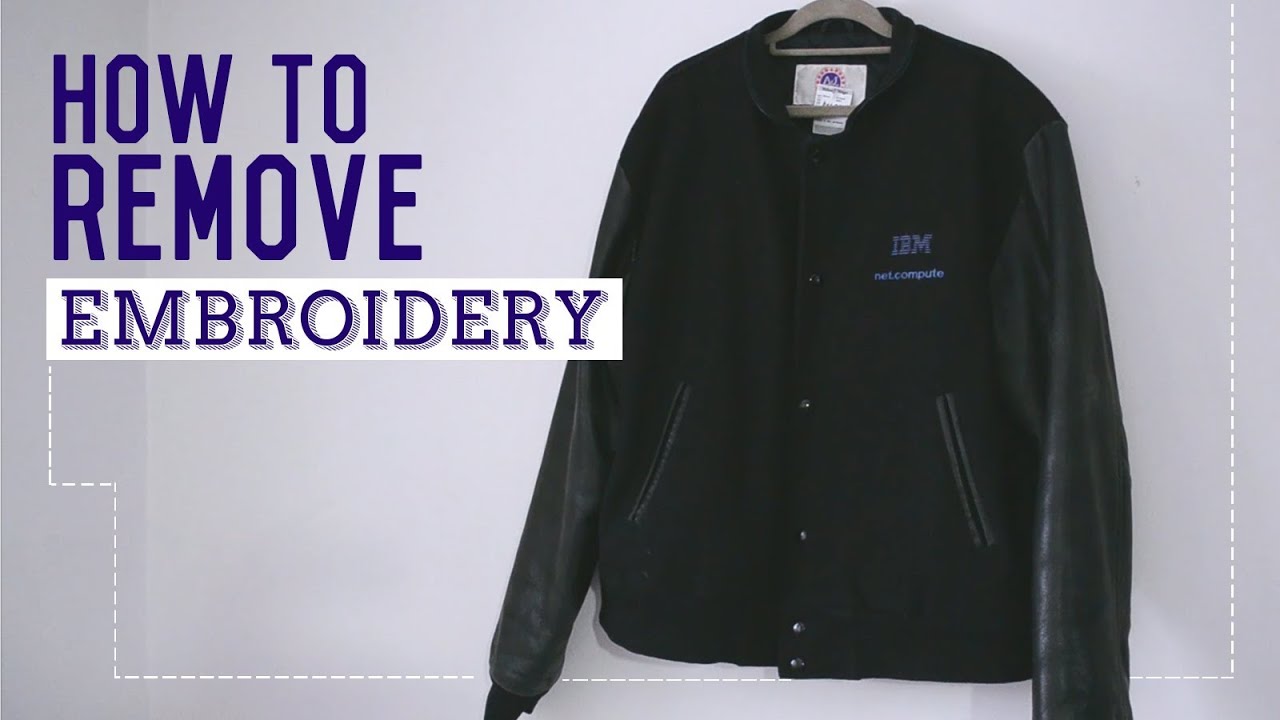
Have you ever looked at something that has been embroidered and wondered how to remove embroidery without damaging the garment in question? Better yet, have you ever taken the time to do some embroidery of your own, only to discover halfway through that you had made a mistake that must now be corrected?
Either way, you have to learn how to remove embroidery effectively and you have to be able to do it without causing a lot of damage in the process. Otherwise, you might as well just throw the whole thing in the trash and start over. Since that is obviously not an option in most cases, it is a good idea to know what you are doing so you can remove anything that you need to remove effectively without causing a larger problem later on down the road. After all, most things that are worth embroidering are worth keeping so you don’t want to ruin everything while you are trying to correct something else.
Get The Right Tools
Contents
What is the first thing you need to do before you remove embroidery from anything? You need to have the right tools at your disposal. Some people prefer certain tools over others when it comes to removing these types of stitches so the first thing you need is to know ahead of time which tool you want to utilize or have a decent assortment of tools available to you so you can find the technique that works best for you. You might choose a tool that is made specifically for embroidery removal or you might try to do the entire job by hand with only a few simple tools by your side. At the very least, you are going to need a good light source, a magnifying glass, some tweezers, scissors, and a stitch removal tool.
Work Mostly In The Back
The number one rule of embroidery removal forces you to work mostly in the back. Remember, you don’t want to ruin the garment and if possible, you don’t want to ruin more of the design than necessary. If you have already completed most of the embroidery project and you made a mistake, you don’t want to be forced remove any more of the project then you absolutely have to in order to make the correction. Therefore, you should work in the back by cutting the stitches that need to be removed on the back of the garment and then pulling them out from the front. Be careful not to cut the garment itself and be equally cautious about refraining from cutting your own fingers.
Layers Upon Layers of Stitches
The thing that really makes embroidery different from other types of stitching is the fact that there are so many layers of stitches. This can pose a real problem when you are trying to remove stitches because you might find one layer after another that needs to be removed. Your best course of action is to work slowly and methodically, removing one layer and then another until all of the necessary stitches have been removed.
Which Thread Goes First?
You might think that you can just get in there and start removing threads. To be honest, there is a certain method that you should follow. This will make it much easier in the long run to remove the stitches that need to be removed without causing a lot of unnecessary damage. Remove any satin stitches first and then take care of running stitches and any other designs that aren’t part of the main project. Last but certainly not least, remove the main threads one layer at a time.
Work Slowly And Carefully
The most important thing you can do is work slowly and carefully. It is best for you to take very small sections of the project where stitching needs to be removed and only work on a few stitches at a time. This is painstakingly slow work and it requires a great deal of attention to detail. If you get frustrated, you might end up cutting the wrong stitches or worse yet, making a hole in the garment that you have worked so diligently to protect.
Summary
You might feel like you are working on a rather hopeless project at first, but if you follow these guidelines and you take things a little at a time, you can get the job done correctly. Remember, if you feel yourself starting to get frustrated, it is best to put everything away and back away from the project for a while. Before you know it, you will be back on the road to creating the embroidery project that you intended to create all along.
